QuickStart
Welcome to Paintcraft!
Thanks so much for the interest in this package – we think you're really going to like using Paintcraft to build and launch your high-quality drawing applications.
We are doing our best to make this pacakage artist firendly and really flexible so it will satisfy any of your needs. This quick tutorial is intended to walk anyone familiar with Unity3D through the basics of Paintcraft package in just about 15-30 minutes. Hopefully you'll learn how to make drawing application as fast as possible.
Package Structure
We included several brushes to this package so you can freely use them in your project. and for sure you can play with any parameters.
This is a live project with picture selection and 2 players split screen drawing. You can test it here in the browser or on your mobile WindowsStore, Android
This is a source code of this package. if you are a programmer maybe it will be interesting to check the source code. It's available in base and pro package.
This folder available only for customers purchased PRO package and it contains SVG integration and 3D drawing implementation. If you are doing VR app probably it's what you need.
PaintCraft prefab
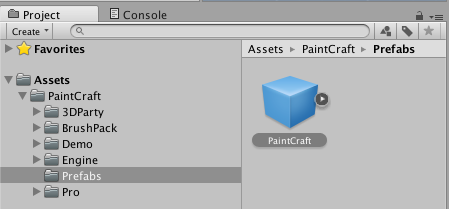
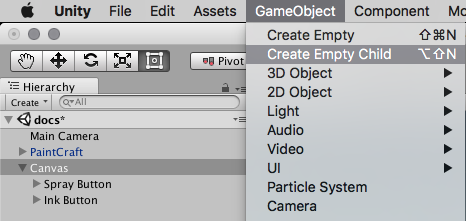
To start your first Drawing app project, the easiest thing to do is to use the PaintCraft prefab which is located at Assets/Paintcraft/Prefab folder.
Find this object in your project and drag it to the scene
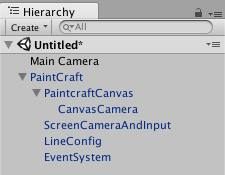
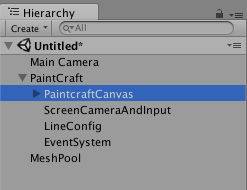
If you have a brand new scene you will get this structure
This object already contains necessary configs, but it won't work immediatly because we need to tell our canvas where we want to draw. In case if you have DirectionalLight object just delete it. It comes from 3D default scene setup
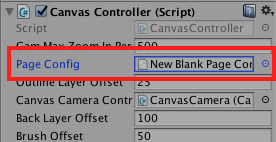
If you try to scene you will see the error in the console
As you see it say that you have to provide page config. to fix that you need to Select PaintcraftCanvas game object and select page config. But first of all let's create new page config
Page Config
Let's create a new Page config. This object will keep configuration just the size our canvas will be.
Create a new folder for this
Assets/ConfigsSetup options at your page config
Name
Description
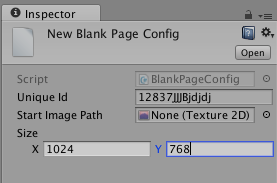
UniqueId
This settings must be unique across all pages inside your project. This id used to store icons or actual changes so if you open your page next time you will see previous changes
StartImagePath
Background image which you will draw on top of
Size
Actual size of you image in pixels like (800x600). You are free to use any sizes and this size does not relate to the screen size as you can zoom your image and draw more details
After you set your configs you will get something like
Apply new page config
Now you have a page config and you can use it with your canvas object
You can also change default background color of your canvas in the same
Canvas Controllercomponent changeDefault BG Color. I'll use defaultwhitecolor
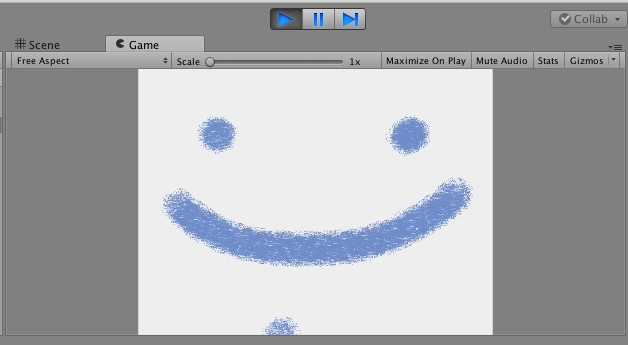
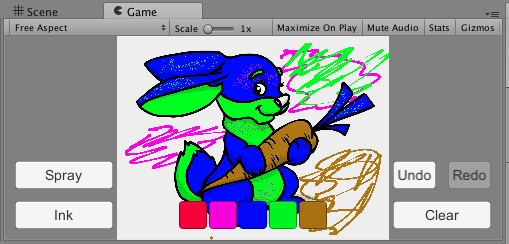
Here you go. Now press play button and you will be able to draw on your screen
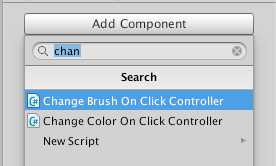
Change Tools Button
Now we have a simple canvas. let's create some simple UI controls to change our tools.
Ink Button
As you can see we have Basic and Advanced brush packs in the Assets/PaintCraft/BrushPack folder. And you can freely use them in your projects.
Let's create standard unity buttons which will change some tools
Create one UI button
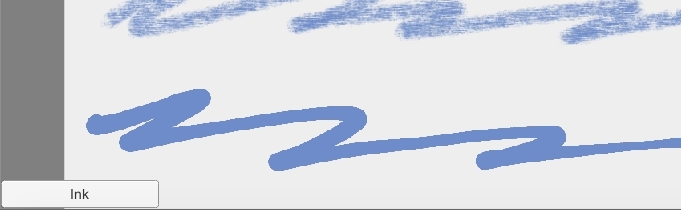
GameObject/UI/ButtonI'll put it to the left bottom corner and name itInk
Spray Button
If you want to add more tools just clone InkButton object and change refference to the tool
To clone object select
Ink Buttongameobject in the Hierarchy panel and then clickEdit/Duplicateor justctrl+Dorcmd+Don macRename new object to
Spray ButtonChange text on the button to
Spray
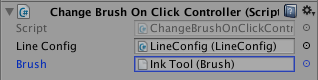
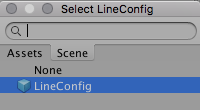
And now let's change our default tool in our line config. Select PaintCraft/LineConfig object. Click on Brush and select Ink.You can also change default scale at LineConfig so your line will be thinner.
PaintCraft Controls Button
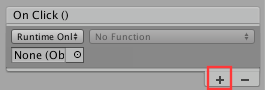
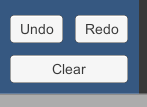
At this step we will create 3 buttons Undo Redo and Clear
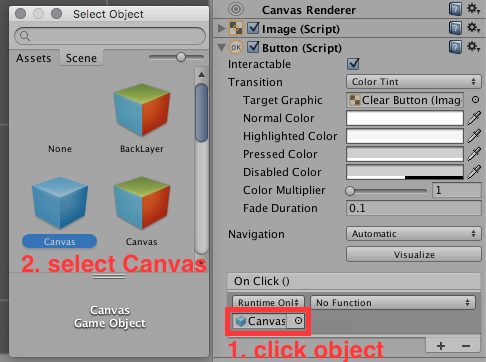
Clear Button
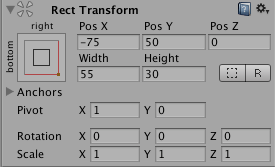
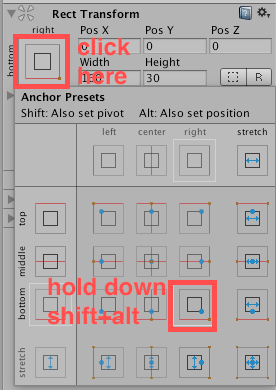
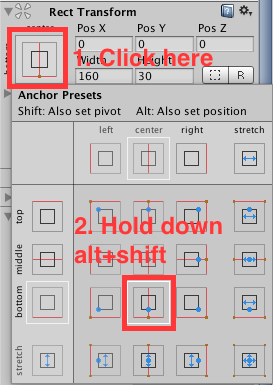
Set small ofset. set
PosX=-10PosY=10so it won't be right on the corner and changewidth=120.Name this button as
Clear
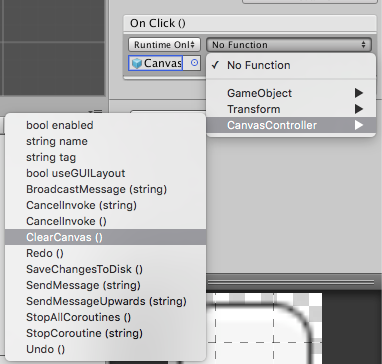
Thats it. start your scene, try to draw something and then clear canvas
Undo/Redo
Let's repeat button creation process for undo/redo
Clone your
Clearbutton 2 times.Select
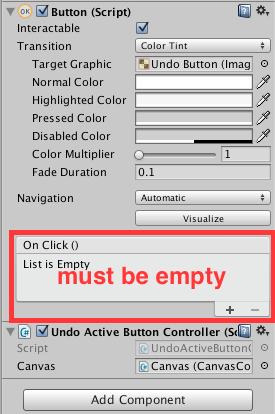
Undobutton and RemoveOnClickhandler usingminusbuttonAdd
UndoActiveButtonControllertoUndoButtonSelect
Redoand repeat steps 4 to 6 but this time addRedoActiveButtonController
Your systems buttons are ready and you can start your scene and check that everything is works properly. You can even see that undo/redo is clickable only if you have something to undo or redo. By default history size is 10.
Line Color and Thickness
Color
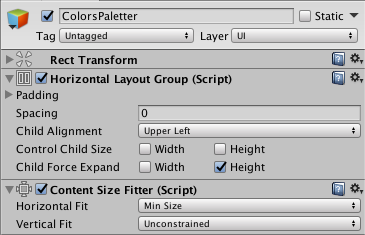
Let's create several buttons which will shift our colors. First we need to create panel.
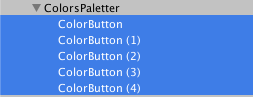
Name it
ColorsPaletteand setPosY=10andheight=30
Now our root objects for our colors is ready and it would have nice feature. it would grow automatically and you can add several colors and all of them would be automactically aligned. so let's do that
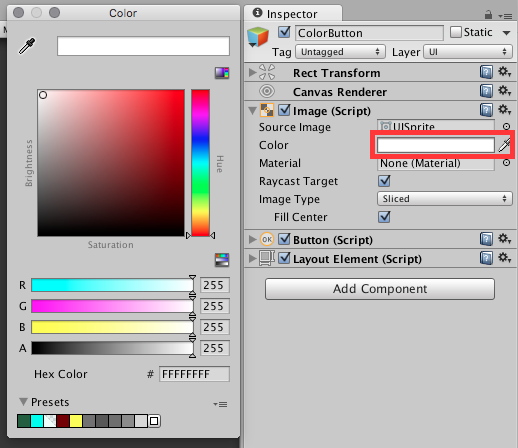
Remove text
Textchild object of our button. so you won't have any caption on itSet button size
Width=30andHeight=30
Click play button and try to change line of your color
Coloring Page
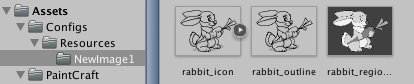
Drawing on plane canvas it's cool but let me show you how to create a coloring page. where all your drawings would be restricted to predefined regions. We would need to setup 3 image and i'll explain you where each of them is used for.
Page Config
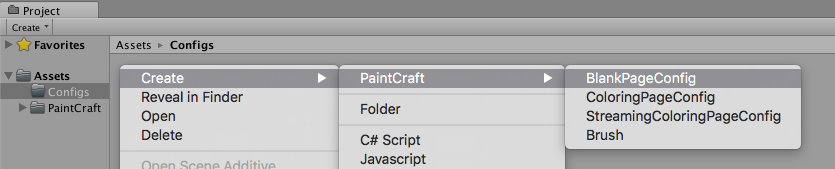
First of all we need to create a new page config go to your
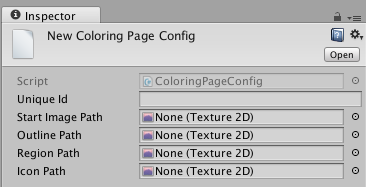
Configsfolder and create new page config file. but this time selectRightClickButton/Create/PaintCraft/ColoringPageConfig.As usual you need to setup
UniqueIdproperty.Start imageif you want to use it and setup 3 image links. Right now let'd just defineUniqueId
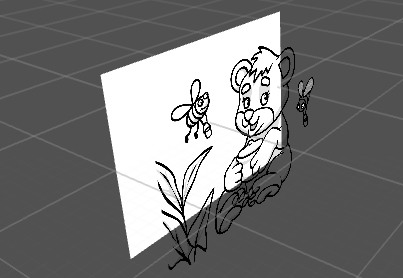
OutlineLayer
In coloring page we use 2 layers. One layer is the same as on blank page where we draw our graphics. and 2 layer contains our actual image. On the screenshot below we hasn't drawn anything and our back layer is blank and white. Outline layer contain Bear image.
And as you see Outline layer must have transparency. you could have any colors on it. something like shades color injections and so on.it's not mandatory to have black and white image. You can open demo project pictures and see that it has some transparent shades like on the png image below (shadows below the bird and on wings)
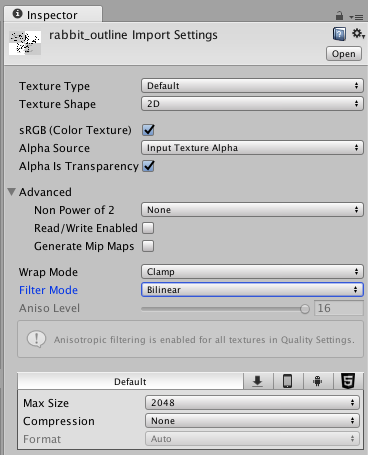
Then you need to fix import settings. By default unity could use power of 2 settings so your image would be stretched. to fix that select your outline image and then in inspector change TextureType=Advanced (Default on Unity5 and later) and then Non Power of 2 = None and also we don't need MipMaps so you could disable them as well. Here you could check what i have.
Icon
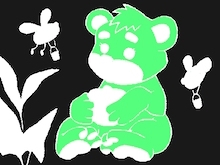
We need separated downscaled icon because of the following reason. When you make any changes on the canvas we store this state on the disk. so when your player would comeback it will be able to work with this image. And we do not store mix of the backgraound layer (where you draw) and outline layer and it's just a lines which you made. The stored layer contains just user changes and looks like this (after result of floodfill with black and green color)
And we need to blend this with outline layer. It won't work well on older devices if we will blend this with original outline layer. because each image would consume to much memory. and this is why we need to add downscaled image.
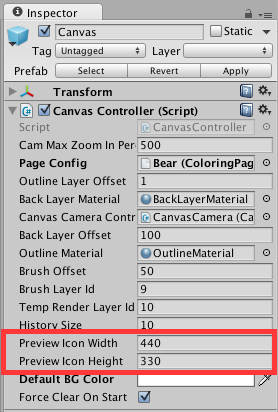
Icon size depends on you which size of image do you want to have. if you will open canvas controller you will see the settings for the icon size by default it 440x330
For import settings you could have the same import settings which you used for outline layer
Predefined Regions
To make region texture what you need to do is just paint your texture in image editor. where every region has own unique color. And if you want to merge some regions you can assign the same color to it. For example you can make the same color for all grass on the image. or for all body parts so if player click on one region with bucket all body parts will be filled with the same region.
Any _regions where alpha = 0 will be ignored _for painting. This means that if you don't want to allow user paint some regions just assign alpha = 0 to it.
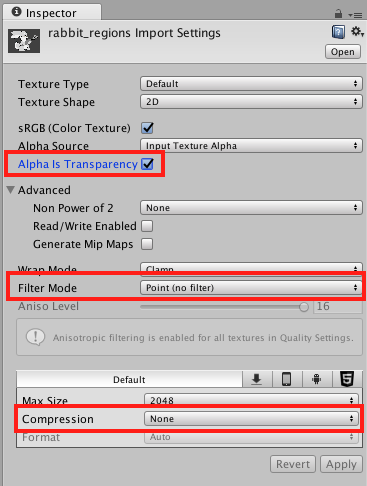
Finally you need to make proper setting for the texture. Critical part here is a FilterMode it must have "Point (no filter)" value
Final config
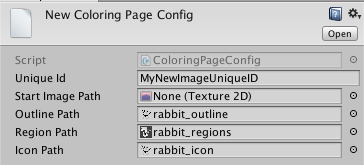
At this point you should have all 3 images. let's setup links to them in our config file
If your images would be stored not inside Resource folder. this inspector will notify you about this. Also if you will change location of this images you would nedd to setup this link again. unity won't change lnks to them automatically as it does for scene or prefab objects.
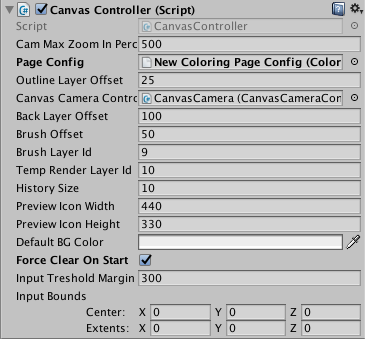
Now you could select this config in your CanvasController component.
And now you could start your scene and start drawing your image
Last updated